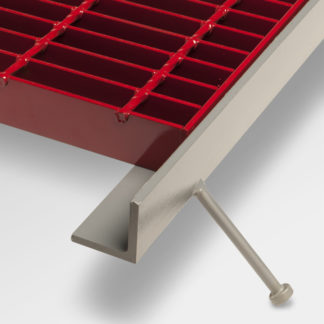
Fiberglass Grating Embed Angle
Pultruded fiberglass reinforced plastic (FRP) embedment curb angle provides a secure and durable seat for grating over concrete trenches and pits.
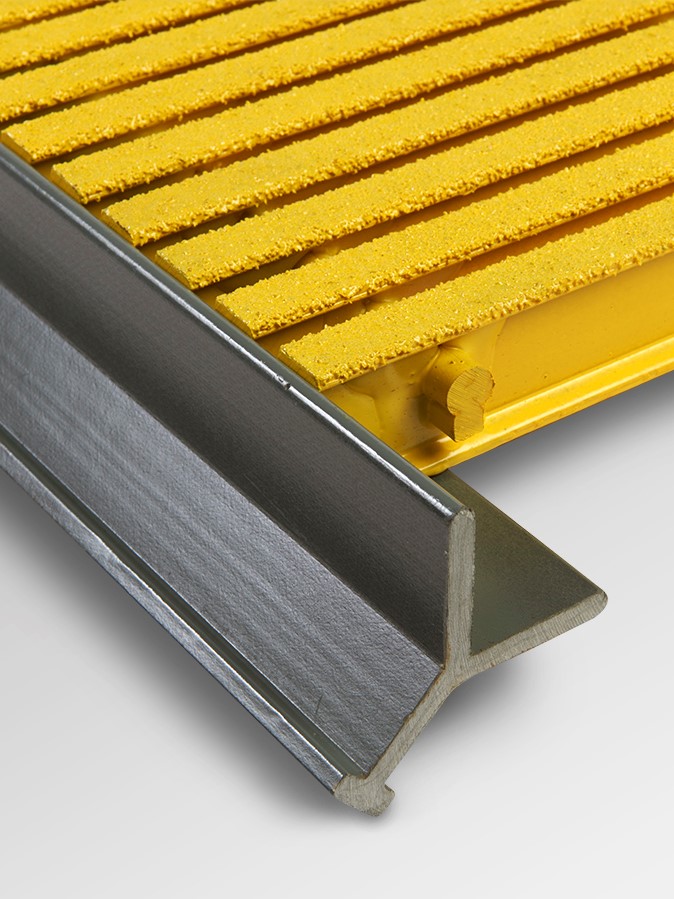

Pultruded fiberglass reinforced plastic (FRP) embedment curb angle provides a secure and durable seat for grating over concrete trenches and pits.